

Make these conversation heart cookies with the kids for a fun and adorable treat for Valentine’s Day! These conversation heart sugar cookies make the cutest Valentine gift for friends and family that love conversation heart candies.
RELATED: Heart Cake Pops

These conversation heart cookies look adorable on a Valentine treat board. Or you can wrap them individually in a treat bag.
Pair them with these heart cake pops or cupid arrow candies to give out to friends and family this Valentine’s Day.

You only need a few supplies to make these cookies.
Supplies Needed
To make the sugar cookies:
- 3 cups (390 grams) all purpose flour
- 1/2 teaspoon salt
- 1 teaspoon baking soda
- 1 cup (227 grams) unsalted butter, room temperature
- 1 cup (200 grams) granulated white sugar
- 2 large eggs
- 2 teaspoons pure vanilla extract
To decorate the cookies:
- White fondant– You can buy white and then tint it in the color you’d like. This gives you the most flexibility to make different colors! And you can mix the icing color to make new colors (for example – you can mix pink and blue to make purple)

Watch the Video Tutorial

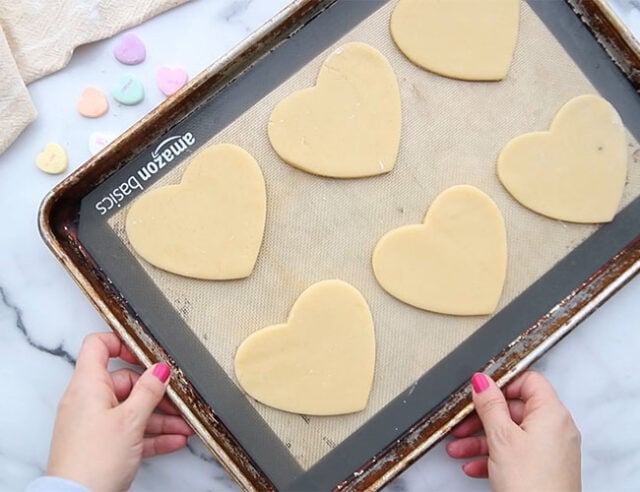
1. First, you need to bake your sugar cookies.
Or you can also buy the store bought sugar cookie dough and work from there. Once you have your dough, use a large heart cookie cutter to cut out your heart cookies for baking.
See the recipe card below for a sugar cookie recipe.
Tip
You MUST refrigerate the cookie dough as per the instructions or your heart cookies will lose their shape. In addition, once you have cut out your cookies in heart, pop them back into the refrigerator for 15 minutes before baking.
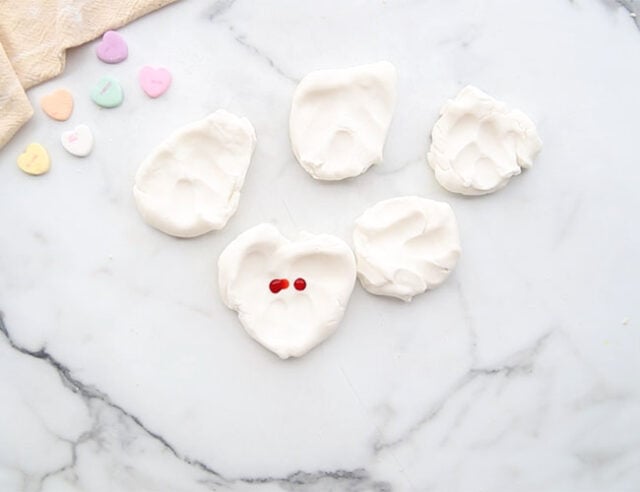
2. Tint your fondant.
Now it’s time to tint your fondant for applying to the top of your cookies! Just apply a little bit of icing color into a ball of fondant and knead until you get it to the color you’re looking for. Use gloves while kneading.
You can match the colors using real conversation heart candies or choose any colors you’d like.
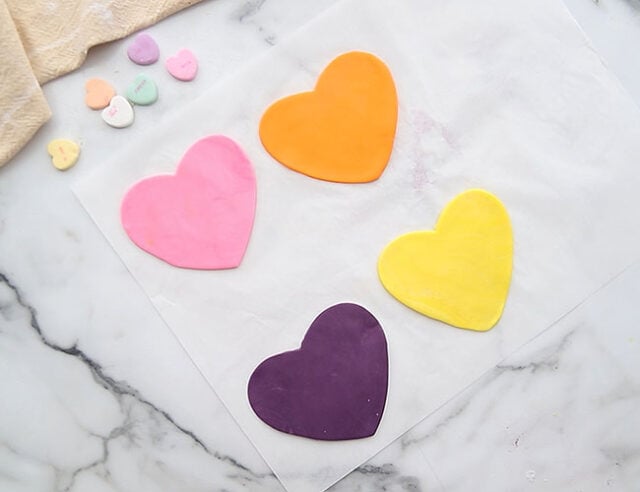
3. Cut out the fondant hearts.
Once you have your colored fondant, roll out the fondant with a roller to a thickness you are happy with. Fondant is pretty sweet, so thinner is recommended. However it will make it a little harder to transfer the thinner it is.
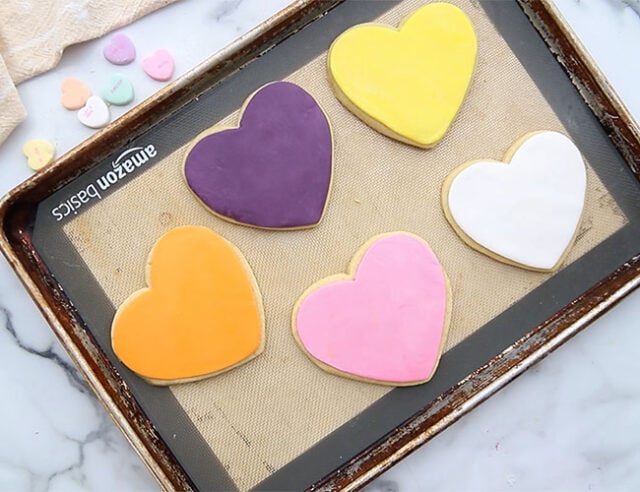
4. Now place on your cookies.
In order to place them on your cookies. Brush a little bit of water on the cookie and then use a spatula to scoop up the heart and place on the cookie. Gently press down. You can also use a fondant smoother or use your hand to smooth it down.
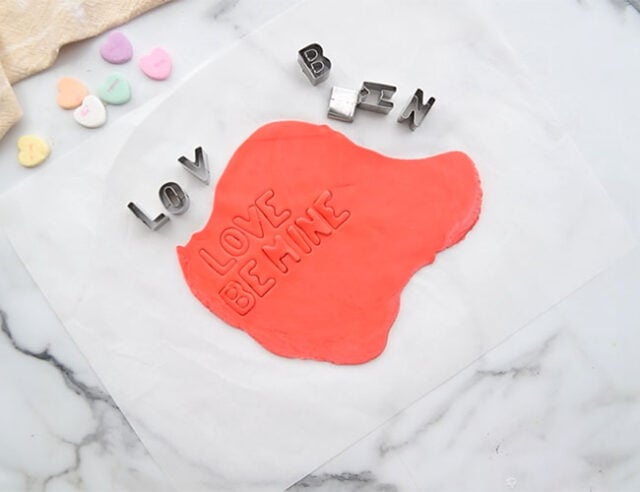
5. Cut out words.
Next, cut out your words and phrases using your letter cookie cutters. This is a little trickier as the pieces are smaller. Brush on a bit of water again on the back of each letter and gently press onto your cookie. Continue with the letters until you form the words you want to add.
Not only do these turn out amazing, they are easy to make too!
These would be especially fun for kids to help make because they can decide what words and phrases to put on the cookies.

Print the Recipe & Directions Here!

Video
Equipment
- 1 heart cookie cutter
- 1 letter stamp set
Ingredients
- 3 cups all purpose flour
- 1/2 tsp salt
- 1 tsp baking soda
- 1 cup unsalted butter room temperature
- 1 cup white sugar
- 2 eggs large
- 2 tsp vanilla extract
- white fondant
- fondant icing color
Instructions
- In a bowl, whisk together the flour, salt, and baking soda.
- In another bowl beat the butter and sugar until light and fluffy. You can use a hand mixer or electric mixer.
- Add the eggs and vanilla extract mix until combined. Add the flour mixture and beat until the dough is smooth.
- Make two bowls of the dough and wrap in plastic wrap and refrigerate for one hour. Add parchment paper to 2 baking sheets.
- Sprinkle flour on your surface before rolling out the dough. Remove one ball of chilled dough and roll out to about 1/4 inch thickness. Cut out heart shapes with your heart cookie cutter and add to the baking sheet. Place the baking sheet into the refrigerator for 15 minutes to chill the dough (omitting this step may cause the cookies to lose their shape when baking).
- Preheat oven to 350 degrees Fahrenheit.
- Bake cookies for about 8-10 minutes or until the edges are slightly brown. Let cool on a wire rack.
- Now it's time to tint your fondant for applying to the top of your cookies! Just apply a little bit of icing color into a ball of fondant and knead until you get it to the color you're looking for. Use gloves while kneading. You can match the colors using real conversation heart candies.
- Once you have your colored fondant, roll out the fondant with a roller to a thickness you are happy with. Fondant is pretty sweet, so thinner is recommended. However, it will make it a little harder to transfer the thinner it is.
- In order to place the fondant on your cookies, brush a little bit of water on the cookie and then use a spatula to scoop up the heart and place on the cookie. Gently press down. You can also use a fondant smoother or use your hand to smooth it down.
- Next, cut out your words and phrases using your letter cookie cutters. This is a little trickier as the pieces are smaller. Brush on a bit of water again on the back of each letter and gently press onto your cookie. Continue with the letters until you form the words you'd like to add.


Share a Comment!
We LOVE hearing from you! Submit your question or comment here.
Your email address will not be published.
Required fields are marked *